Finnabair's Store7 Dots StudioFlickrPinterestFacebookTwitterBlog

2015-07-30

No ordinary life

Art journal spread in its best form. 
Colours + stencils makes perfect combination.
Anai will tell you how to add layer after layer and have so much fun while journaling!


This year is very special to me in many ways. And that is also a reason why my art-journal is growing :) It's the best way to try new techniques but also the best way to express emotion. Many of my art-journal are private and I'm not going to show them public... but some - some I may show with great pleasure :)
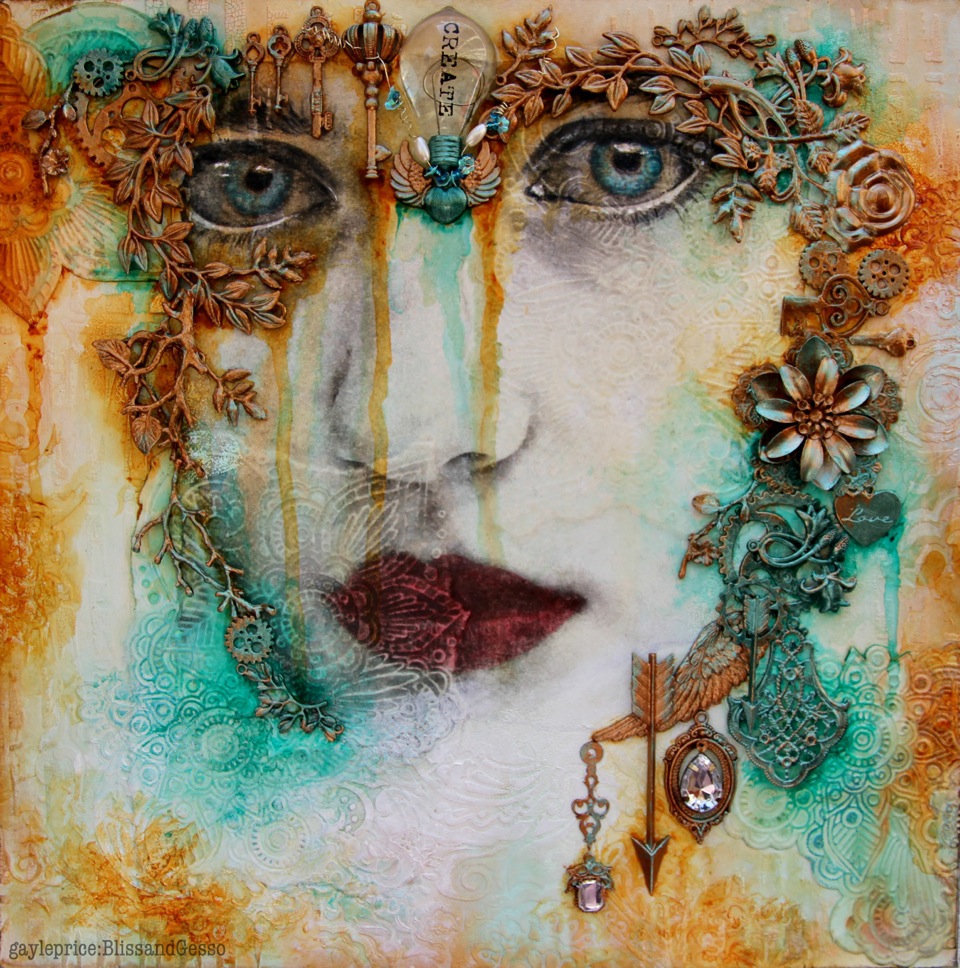
Last week I spend some amazing time with my creative friends - mostly sitting on a floor with a brush in my hand. It was a time to share and a time to absorb inspirations. I've created many pages in my journal, but this one is my most favourite. Maybe because I've spent half a day creating it layer by layer.
I try to keep my art-journal flat, so I've used mostly paints and stencils to create layers. Can you see how much is going on here?


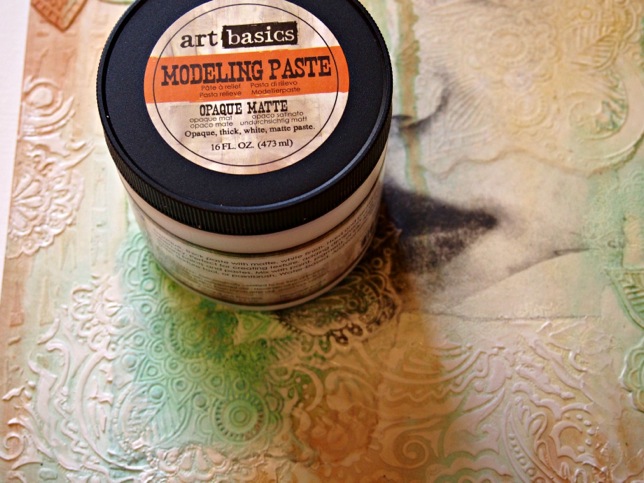
I started with incredible Dylusions Spray Inks. I love them! They're vibrant watercolour sprays with amazing colors. Then I started adding layers of acrylic paints and black gesso with stencils.
My trick was to tone down black gesso a little with another layers of acrylic paints... and then adding next layers of black gesso - over and over again. I wanted to create very complex background - with some vibrant colors and very delicate and soft patterns. My tools - brushes, sponges, fingers. A lot of fun!


Stencils are perfect if you want to add some interest to the pages. You can create many interesting patterns overlapping each other. You can use them with paint (or gesso) and sponge, or for example just draw the contours with a marker.
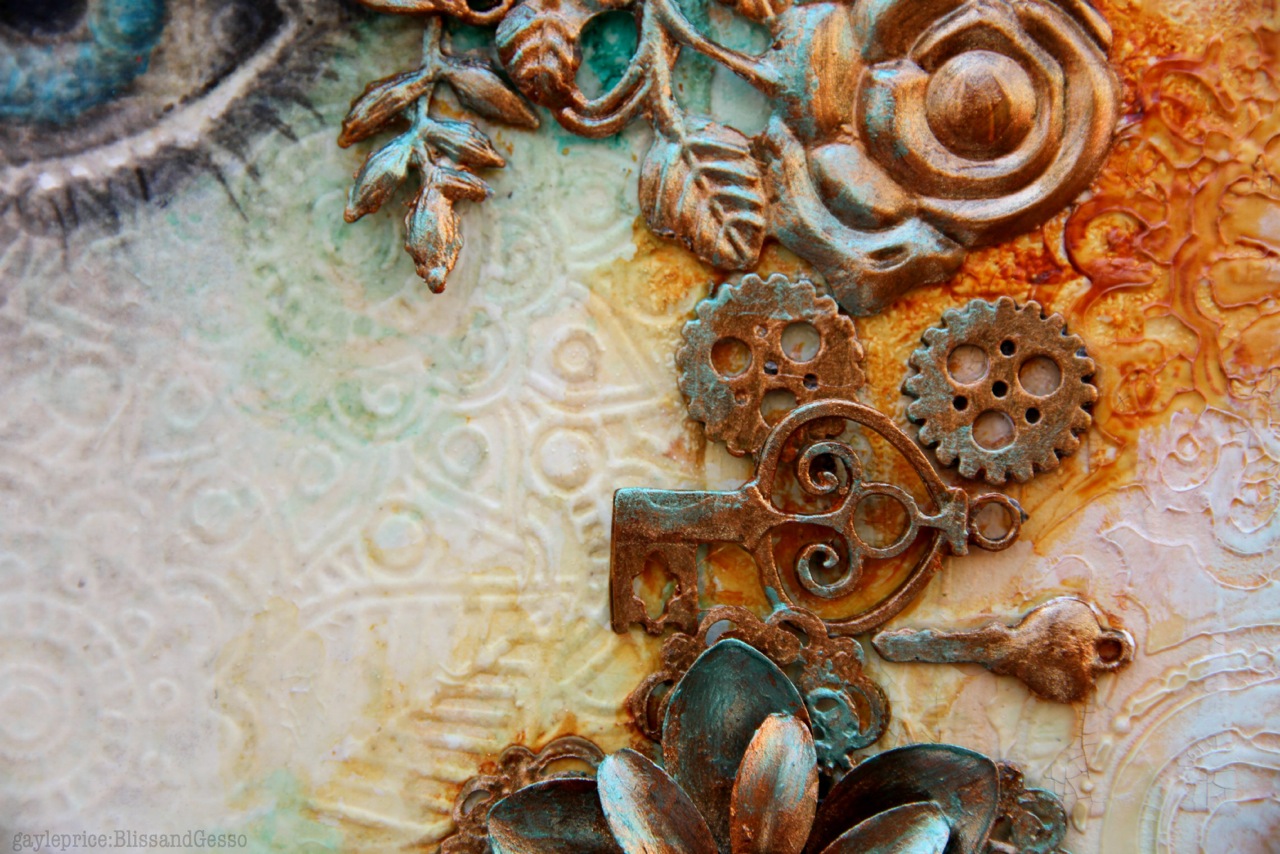
Then you can always use a soft pencil to add some shadows and make it even more interesting.


My last step was to add small photos and a quote from some magazine. "There's no such thing like ordinary life" matches my mood perfectly. There are always ups and downs in my life... and sometimes I wonder - wouldn't it be just so much easier to have some normal "ordinary" life? But I guess there's really no such thing. Especially if you're creative and full of emotions :)
I've used black and silver gelatos to add shadow to my pictures and "blend" them into the pages. Gelatos can be easily smudged with fingers which creates amazing effect.

 
I hope you like my pages. And I really encourage you to try layering with stencils. You can be surprised how many different effects you can achieve!

Products from Mixed Media Place:


2015-07-27

To The Moon & Back

Sardines? Oh yes, please!
A fantastic idea how to alter a used and unwanted food can.
Recycling into masterpiece ! Check out Janka's amazing art.


I like using materials which were originally designed for something else. I like altering those things, giving them second life and making them very special, even if I thought to throw them out at first.
I created a frame. Pardon... first, we ate the sardines from this metal can. :)


To begin, I cleaned the metal can keeping the opening as a hanger.
I covered my frame with white gesso and dried. I painted all with Silks.
I glued some paper bits inside the can to create my background. I used some pages from an old book and silk paper.


I added some Micro Beads which I coloured with Silks Bolivian Blue paint - I love this colour, it's my favourite colour which I use in most of my projects.

To create some stains I used sprays from Lindy's Stamp Gang.
The little wings are a stamp from Prima Moth Wings set. I stamped two sets which I cut out to create a dimensional effect. I added a small metal embellishment in the middle. 


I coloured everything with Inka Gold rubs and added a sticker from Destination Unknown collection. Hook on the back and my picture frame is ready.

Cans are great for frames, you can add some photographs in the middle too and it will look great !


Products from Mixed Media Place:

2015-07-25

Just create

Dear fans we have some mixed media treat for you today.
Check out Gayle's self-expression that will blow you away!
Her visual art combines not only great art materials and skills but emotions which will reach your soul.


Hello lovely Mixed Media Place people.
My page today started out as a sort of experiment. I love to work with faces but I’m also a bit obsessed with pattern. I wanted the face to be ‘patterned’, and I could have done that by collaging onto it, or drawing onto it or stamping onto it. But, I wanted to see what an image transfer face would look like when placed over textured, patterned paper.  The result is subtle, but the pattern can be highlighted with paints and inks. I have also added more surface pattern and texture with a stencil and modelling paste. I’ve then framed the face with lots of metal embellishments and painted them with Mica Powder.


A piece of 12x12 inch chipboard. Gessoed and then using a Finnabair Elementals Stencil and White Crackle Texture Paste I have worked around the edge of the page.


I then dry embossed some heavy paper with a floral, Bohemian type pattern and stuck it down onto my card. Because the card was quite thick I needed to use the 3D matte gel.


Next, using art basics Soft Matte Gel, I transferred my photo onto my page over the embossed paper.


Then some colour. I’ve Distress Spray Stain.


Using art basics Modeling Paste and a stencil similar to my embossed pattern I’ve added some surface texture and pattern. I did this to try and soften the edges of the embossed paper, I wanted it to “blend” in a little more to the page.


Using art basics 3D Matte Gel as an adhesive metal elements were added to frame the face.


Finally all the metal was painted using Finnabair’s beautiful Mica Powders. You can see the left hand side of the face has been painted while the right hand side is still raw metal.


Some wire and bead detail.


Surface textures.


Products used from Mixed Media Place: